
MAXIFY iB4100 seriesPreparing Printer
Prepare the printer for first use.
![]() Note
Note
-
If you have completed preparing the power, ink tanks, and paper as well as selecting how to use the printer by referring to the printed manual "Getting Started" supplied with the printer, proceed to set up the printer.
Preparing Power, Ink Tanks, and Paper
![]() Important
Important
- Do not connect cables other than the power cord while preparing the printer.
-
Check accessories.
Make sure the accessories shown in the following illustration are supplied.
 Important
- The Setup CD-ROM is for Windows only.
-
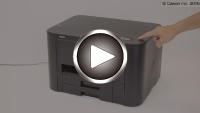
Remove protective materials and turn on printer.
 Important
- Remove the orange tape and film on the outside as well.
 Note
Note- Depending on your country or region, a screen for selecting a language and region may appear.
-
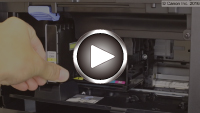
Install ink tanks.
 Important
- The installed ink tanks cannot be removed until a replacement notification message appears.
-
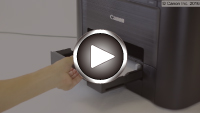
Load A4 plain paper.
 Note
Note- Alternatively, use Letter size plain paper.
- The loaded paper will be used for a test print.
When the following screen appears, press OK button.

-
Select how to use printer.
When connecting to the following devices
- Computer
-
Smartphone/tablet
- iOS
- Android (not NFC-enabled)
When using printer only without connecting to computer/smartphone/tablet
Note- For details on connection types, see Connection Methods Available on Printer.
Connecting via Wireless LAN
-
Select Wireless LAN and press OK button.

-
Select Yes and press OK button.

When the following screen appears, perform setup to make the printer ready for use.
Set up a connection between the printer and computer, smartphone, or tablet, or install applications by referring to this site. Note
Note- For the settings when using AirPrint or Google Cloud Print, see When Using AirPrint or Google Cloud Print.
- Some functions are not available in certain countries or regions.
Connecting via Wired LAN
-
Select Wired LAN and press OK button.
-
Select Yes and press OK button.

When the following screen appears, connect the printer to a network device such as a router with an Ethernet cable.
-
Press OK button.
When the following screen appears, perform setup to make the printer ready for use.
Set up a connection between the printer and computer, smartphone, or tablet, or install applications by referring to this site.
Connecting via USB
-
Select USB and press OK button.
-
Select Yes and press OK button.

When the following screen appears, perform setup to make the printer ready for use.
Set up a connection between the printer and computer, smartphone, or tablet, or install applications by referring to this site.

© Canon Inc. 2016